Welcome to your ultimate #DIYRoomMakeover guide! Whether you’re refreshing a bedroom, living room, or home office, this step-by-step plan will help you transform your space without draining your wallet. With a little creativity, elbow grease, and these budget-friendly hacks, you’ll create a room that feels brand new. Let’s dive in!
Step 1: Plan & Get Inspired
Before grabbing tools, start with a vision. Browse platforms like Pinterest or Instagram for inspiration, and save ideas that match your style (hello, #PinterestDIY!). Focus on achievable projects: repurposing furniture, adding accent walls, or swapping out textiles. Set a budget (e.g., 100−100−200) and prioritize high-impact changes.
Pro Tip: Create a mood board using free apps like Canva to visualize colors, textures, and layouts.
Step 2: Declutter & Deep Clean
A clutter-free room instantly feels bigger and fresher. Sort items into “keep,” “donate,” and “trash” piles. Use affordable organizers like dollar store bins or repurposed shoeboxes. Then, deep clean floors, windows, and surfaces. A sparkling space is the perfect canvas for your #HomeTransformation!
Budget Hack: Use vinegar and baking soda for DIY cleaning solutions—they’re eco-friendly and cost pennies.
Step 3: Repaint for Instant Impact
Paint is the cheapest way to revive a room. Freshen up walls with a neutral shade or add a bold accent wall. No cash for new paint? Check local “Buy Nothing” groups for leftover cans. Don’t forget furniture! A dated dresser or nightstand can shine with a coat of matte paint.
#BudgetFriendlyDecor Tip: Use sample-sized paints (3−3−5) for small projects like picture frames or shelves.
Step 4: Update Furniture with DIY Hacks
Instead of buying new furniture, give old pieces a facelift:
- Contact Paper Magic: Cover scratched tables or shelves with peel-and-stick contact paper ($10/roll).
- Hardware Upgrade: Replace knobs on dressers or cabinets with thrifted or spray-painted options.
- Stencil It: Add patterns to plain furniture using stencils and acrylic paint.
#DIYDecor Win: Turn wooden crates into rustic shelves with a little sanding and stain.
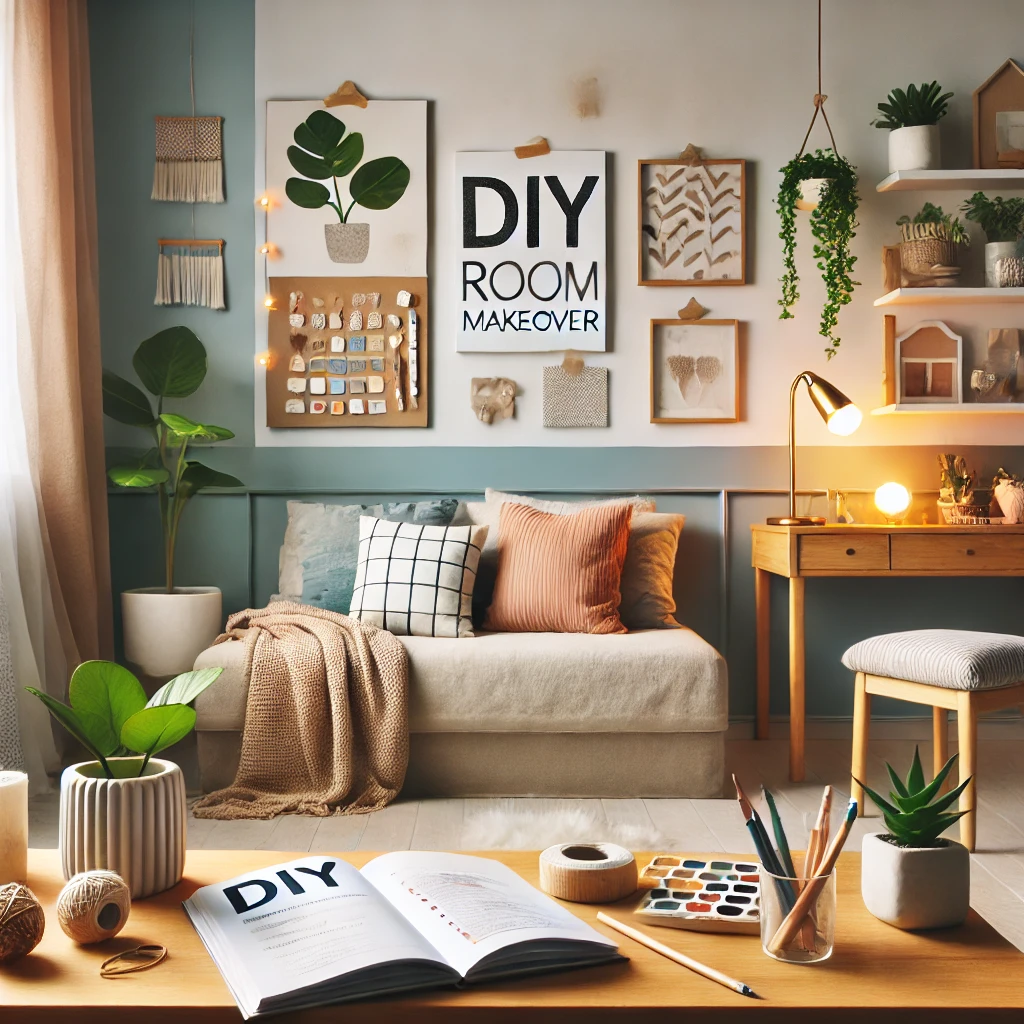
Step 5: DIY Decor & Accents
Personalize your space with handmade decor:
- Gallery Wall: Frame postcards, fabric scraps, or printables. Hang them with washi tape or Command strips to avoid nails.
- Thrifted Finds: Spray-paint thrift store vases or mirrors for cohesive accents.
- Macrame or Wall Hangings: Use YouTube tutorials to craft boho decor with yarn or rope.
Pro Tip: Arrange decor in odd numbers (3 or 5 items) for visually appealing displays.
Step 6: Lighting Makeover
Good lighting sets the mood! Try these ideas:
- DIY Lampshades: Wrap plain shades with lace, fabric, or paint.
- Fairy Lights: Drape battery-operated string lights ($5) around windows or mirrors.
- Swap Bulbs: Warm white bulbs create a cozy vibe vs. harsh cool tones.
#BudgetFriendlyDecor Alert: Repurpose mason jars into pendant lights with kits from craft stores.
Step 7: Add Textiles for Warmth
Soft furnishings add color and comfort:
- No-Sew Pillows: Use fabric glue to create envelope-style pillow covers from old scarves or thrifted fabric.
- Rug Revival: Layer small rugs (check discount stores) or dye faded ones for a fresh look.
- Curtains: Hang floor-length curtains to elevate ceilings—even $10 sheers from Amazon work!
Pro Tip: Use safety pins to create temporary curtain tiebacks with ribbon or belts.
Step 8: Final Touches
Bring your room to life with greenery and personality:
- Thrifty Plants: Propagate succulents or snake plants (they thrive on neglect!).
- Aromatherapy: Simmer citrus peels and cinnamon sticks for a natural, cozy scent.
- Display Memories: Use clipboards or string lights with clothespins to showcase photos.
#DIYRoomMakeover Moment: Add a DIY headboard using reclaimed wood or a painted mural.
Conclusion: Share Your #HomeTransformation!
Congratulations—you’ve transformed your space with creativity and smart budgeting! Now, snap “before and after” photos and share your journey on social media. Tag us and use #DIYDecor, #BudgetFriendlyDecor, and #PinterestDIY to inspire others. Remember, a beautiful room doesn’t require a fortune—just imagination and a willingness to try.
Ready to start your next project? Save this guide, grab your toolkit, and let your DIY magic shine!
By following these steps, you’ll create a room that reflects your style and ingenuity—all while staying budget-conscious. Happy crafting! 🌟
Hashtags for Sharing:
#DIYRoomMakeover #BudgetFriendlyDecor #HomeTransformation #DIYDecor #PinterestDIY